
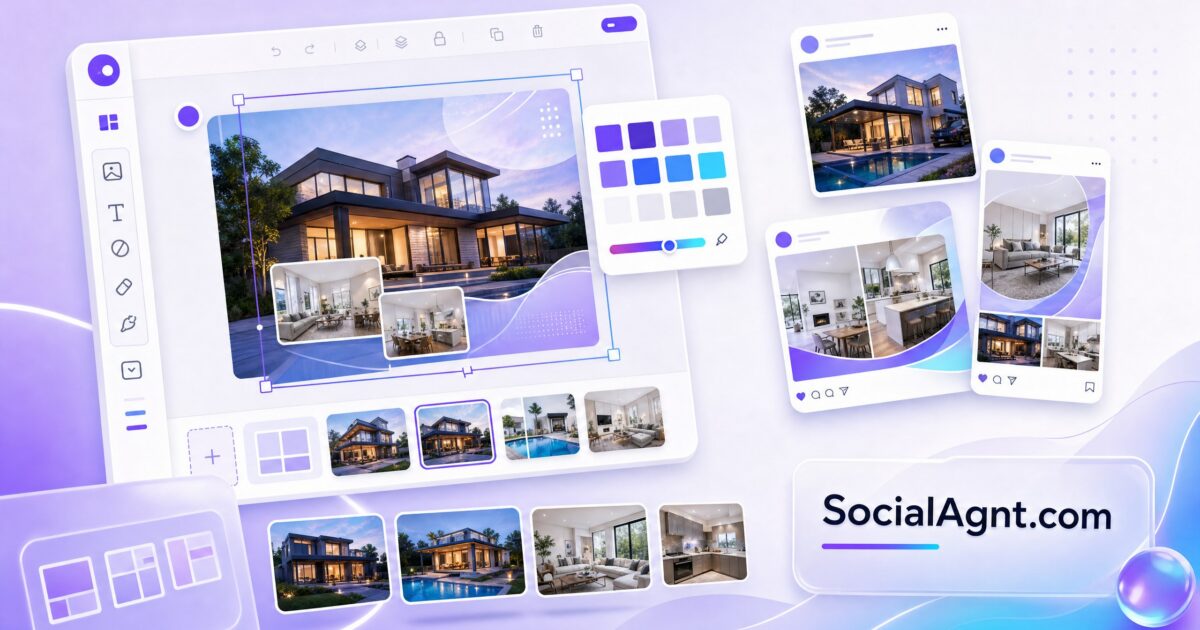
Key Takeaways: Canva has become the design tool that levels the playing field for real estate agents — giving you the ability to create professional-quality social media graphics, property flyers, listing presentations, and marketing materials without a graphic design degree or a $5,000 monthly design budget. The platform’s real estate-specific template library, combined with features like Brand Kit for automatic brand consistency, Magic Resize for instant multi-platform formatting, and a built-in QR code generator for linking print materials to digital content, makes it possible to produce an entire month of marketing materials in a single afternoon. The free version is genuinely capable for agents getting started, while Canva Pro at $10 per month unlocks the Brand Kit, premium templates, and Magic Resize features that transform Canva from a design tool into a complete marketing production system. The agents who get the most value from Canva build template libraries organized by content type — Just Listed announcements, open house promotions, market updates, educational carousels, and testimonial graphics — that they duplicate and customize for each new use, reducing the time per design from 30 minutes to under 5 minutes. This guide covers every aspect of using Canva effectively for real estate marketing, from setting up your brand identity to creating specific design types, along with the workflow strategies and design principles that make your content look professionally produced.
Why Canva Has Become Essential for Real Estate Marketing
There was a time when creating professional marketing materials as a real estate agent meant one of three things: paying a graphic designer hundreds of dollars per project, using your brokerage’s generic templates that looked identical to every other agent’s materials, or creating something yourself in PowerPoint that looked like it was created in PowerPoint. None of these options were great, and the result was that many agents simply did not create the visual content their marketing strategy required.
Canva changed that equation fundamentally. The platform provides thousands of professionally designed templates that you can customize with your own photos, text, colors, and branding — producing results that look like they came from a design agency at a fraction of the cost and time. For real estate agents, where visual content is not optional but essential, this democratization of design has had an outsized impact. Sixty percent of real estate agents report their highest marketing ROI comes from social media, and social media is a visual medium. The agents who produce consistent, professional-looking visual content have a tangible advantage over those who post text-only updates or low-quality graphics.
But having access to Canva is not the same as using it effectively. The difference between an agent who opens Canva and struggles for an hour to produce a single mediocre graphic and an agent who produces a week’s worth of polished content in 90 minutes comes down to understanding the tool’s features, building efficient workflows, and applying basic design principles that make every piece of content look intentional and professional.
Setting Up Canva for Real Estate: Your First 30 Minutes
Before you create a single design, invest 30 minutes in setting up Canva properly. This upfront time pays dividends on every design you create going forward.
Create Your Brand Kit
The Brand Kit is Canva’s most valuable feature for real estate agents and is available on the Pro plan. Upload your logo (in PNG format with a transparent background for maximum versatility), set your brand colors (primary, secondary, and accent colors from your brand identity), and choose your brand fonts (headline and body fonts that match your other marketing materials). Once configured, your Brand Kit appears in every design you create — one click applies your colors and fonts to any template, ensuring that every piece of content looks unmistakably yours.
If you are using the free version, you can achieve similar consistency by noting your hex color codes and font choices and applying them manually to each design. It takes a few extra seconds per design but produces the same branded result.
Set Up Your Folder Structure
Organization is the difference between a Canva account that saves you time and one that becomes a cluttered mess you dread opening. Create folders for each major content type: social media posts, property flyers, listing presentations, open house materials, email graphics, and print materials. Within the social media folder, create subfolders for each platform or content type — Instagram posts, Facebook covers, Story templates, and carousel posts. This structure means you always know where to find your designs and where to save new ones.
Build Your Media Library
Upload the assets you use repeatedly: your headshot, your brokerage logo, your team photo, any branded graphic elements, and your highest-quality property photos. Having these assets pre-loaded in Canva means you are never hunting through your phone or computer for the right file when you are in the middle of a design session.
Essential Design Types Every Real Estate Agent Needs
These are the designs that cover the core marketing needs of a real estate agent. Create a template for each one, and you will have the foundation for a complete visual marketing system.
Just Listed and Just Sold Graphics
These are your most frequently used designs. Create a template that prominently features a high-quality property photo, includes the essential details (address, price, bedrooms, bathrooms, square footage), displays your branding (logo, name, contact information), and includes a clear call to action. Design the template once with placeholder text and a sample photo, then duplicate it for each new listing or sale — swapping the photo and updating the details takes under five minutes.
Create variations for different platforms: a square format for Instagram feed posts, a vertical format for Stories and Reels covers, and a landscape format for Facebook. Canva’s Magic Resize feature (Pro plan) can convert a single design into all three formats instantly, but even on the free plan, creating three variations of the same template is a one-time investment that serves you for every listing.
Open House Promotion Materials
Open house designs need to communicate four things quickly: the property address, the date and time, a compelling photo that makes people want to visit, and how to get more information. Create templates for both digital (social media post, email graphic) and print (flyer, door hanger) formats. Include a QR code — Canva’s built-in QR code generator lets you create codes that link to your listing page, a virtual tour, or your contact information, bridging the gap between print materials and digital engagement.
Market Update Graphics
Weekly or monthly market updates are a cornerstone of authority content for real estate agents. Design a template that includes spaces for three to five key data points (median price, days on market, inventory levels, price changes), your market area name, the date range, and your professional interpretation or commentary. The template should be visually clean and easy to read — market data is already complex, and cluttered design makes it harder to absorb.
Educational Carousel Posts
Instagram carousels earn the highest engagement rate of any format at 4.1 percent, and educational carousels — multi-slide posts that walk through a topic step by step — are one of the most effective content types for real estate agents. Create a carousel template with a consistent layout: a title slide, content slides with numbered steps or key points, and a final slide with your call to action and branding. The slides should share a unified visual style so the carousel feels like a cohesive piece of content rather than a collection of unrelated graphics.
Testimonial Graphics
Transform client reviews into shareable visual content with a testimonial template that features the quote prominently (in a larger, distinctive font), the client’s first name and transaction type, a relevant image (the property they purchased or your professional headshot), and your branding. A well-designed testimonial graphic elevates a text review into a piece of social proof that catches attention in the feed and communicates trust at a glance.
Property Flyers
Print flyers remain relevant for open houses, door-to-door marketing, and office displays. Canva’s flyer templates provide a starting point that you can customize with your brand colors, property photos, and listing details. Focus on large, high-quality photos — the property is the hero of the flyer, and the design should showcase it. Include a QR code that links to the online listing for viewers who want more information or a virtual tour.
Canva handles the visual side of your marketing, but every graphic needs compelling copy. SocialAgnt generates the captions, headlines, and text content that brings your Canva designs to life — from listing descriptions to educational post copy to market update commentary. Design in Canva, write with SocialAgnt, and produce professional marketing materials at a pace your competition cannot match.
Design Principles That Make Real Estate Graphics Look Professional
You do not need design training to create professional-looking real estate graphics. Following these principles consistently is enough to make your content stand out.
Embrace White Space
The most common design mistake agents make is trying to fill every inch of space with text, photos, logos, and decorative elements. Professional design breathes. White space — the empty area around and between elements — makes your content easier to read, more visually appealing, and more impactful. When in doubt, remove elements rather than adding them. A graphic with one powerful photo, a clear headline, and ample white space will always outperform a cluttered design that tries to communicate everything at once.
Limit Your Color Palette
Stick to two to three colors per design — your brand colors plus a neutral. Using more colors creates visual chaos that makes your content look amateurish. Consistency in color also builds brand recognition: when your followers see your signature blue and white in a social post, they recognize it as yours before they even read the text.
Choose Legible Fonts
Script fonts and decorative typefaces may look elegant in isolation, but they are difficult to read at the sizes social media graphics are typically viewed — especially on mobile phones. Use clean, modern fonts for body text and reserve decorative fonts for short headlines or accent text only. Ensure sufficient contrast between your text color and background so that every word is readable at a glance.
Let Photos Do the Heavy Lifting
In real estate design, the photo is the star. Use high-quality, well-lit property photos as the focal point of every design and design around them rather than over them. Avoid covering the best parts of a property photo with text overlays. If you need text on top of an image, add a semi-transparent color overlay to create contrast and ensure legibility without completely obscuring the photo.
Maintain Visual Hierarchy
Every design should guide the viewer’s eye in a specific order: the most important element first (usually the property photo or headline), supporting information second (price, address, key details), and the call to action or branding last. Create this hierarchy through size (larger elements attract attention first), contrast (high-contrast elements stand out), and placement (elements at the top and center receive the most attention).
Time-Saving Canva Workflows for Real Estate Agents
Efficiency is what separates agents who use Canva successfully from agents who abandon it after a few frustrating sessions. These workflows minimize time spent while maximizing output quality.
The Template Duplication System
Never design from scratch twice. Every time you create a design you are happy with, save it as a template. The next time you need the same type of design, duplicate the template and swap the content — new photos, updated text, different data. A well-built template library means creating a new listing graphic, market update, or educational post takes under five minutes instead of thirty.
Organize your templates by naming them clearly: “Just Listed – Instagram Square,” “Market Update – FB Post,” “Testimonial – IG Story.” When you need to create content during a batch session, you open the appropriate template, duplicate it, customize it, and move on to the next design. After building 15 to 20 templates that cover your regular content types, you will rarely need to start a design from blank.
The Batch Design Session
Combine your Canva workflow with your content scheduling strategy by designing all your graphics in a single focused session. Pull up your content calendar, identify which posts need graphics, open the corresponding templates, and work through them in sequence. Batch designing is faster than creating graphics individually because you stay in a creative mindset, your design tools and assets are already loaded, and you build momentum as you move through similar design tasks.
A practical batch session for creating one week of social media graphics — five to seven posts across multiple platforms — takes 45 to 60 minutes for an agent with an established template library.
The Magic Resize Workflow (Pro)
If you are on Canva Pro, Magic Resize transforms a single design into formats for every platform with one click. Design your content in Instagram’s square format first, then use Magic Resize to create Facebook landscape, Pinterest vertical, LinkedIn banner, and Story vertical versions. You may need to make minor adjustments to each resized version — repositioning elements that shifted during the resize — but the overall time savings compared to designing each format separately is substantial.
The Team Collaboration Workflow
If you work with a virtual assistant, marketing coordinator, or team members, Canva’s sharing features let you create template folders that your team can access, customize, and use — all while maintaining your brand standards. Set up a shared folder with your approved templates, brand guidelines, and asset library. Your team duplicates templates and fills in the specifics for each listing or post, then shares the finished design with you for a quick approval before publishing. This workflow distributes the design workload without sacrificing brand consistency.
Canva Pro vs. Free: Is the Upgrade Worth It?
At $10 per month (or less with annual billing), Canva Pro is one of the most affordable upgrades in an agent’s marketing toolkit. But is it necessary?
When Free Is Enough
The free version of Canva is genuinely capable. You get access to thousands of templates, a robust design editor, basic image editing, stock photos and graphics, and the ability to create, save, and share designs. For agents who are just starting their social media strategy and creating a few graphics per week, the free version covers the essentials. You can manually apply your brand colors and fonts to each design, create templates in the sizes you need, and produce professional-looking content without paying anything.
When Pro Becomes Essential
Three features make Canva Pro worth the investment for agents who are serious about their visual marketing. The Brand Kit saves significant time by automatically applying your colors, fonts, and logos to any template — eliminating the manual work of setting brand elements on every design. Magic Resize eliminates the need to recreate designs for different platforms — a single design becomes five or six platform-specific versions instantly. And the premium template and asset library gives you access to significantly more (and higher quality) templates, stock photos, graphic elements, and fonts than the free version.
If you are creating more than five to ten graphics per week, the time savings from Brand Kit and Magic Resize alone justify the $10 monthly investment. If you are creating fewer than that, the free version is a perfectly capable starting point.
Beyond Social Media: Other Real Estate Uses for Canva
While social media graphics are the most common use case, Canva’s versatility extends to nearly every marketing material a real estate agent needs.
Listing presentations for seller meetings can be designed in Canva with the same professional polish as agency-produced materials. Create a multi-page presentation template that includes your market analysis, your marketing plan, your track record, and your personal story — then customize it for each listing appointment with property-specific data and photos.
Buyer’s guides and seller’s guides designed in Canva serve as lead magnets, open house handouts, and client onboarding materials. The multi-page document templates let you create comprehensive guides with consistent branding that look like they were produced by a marketing agency.
Email headers and signature graphics ensure your email communications carry the same branded look as your social media and print materials. A consistent visual identity across every touchpoint — social, email, print, web — compounds your brand recognition with every interaction.
Postcards and door hangers for geographic farming and neighborhood marketing can be designed in Canva and sent to print through various online printing services. The print-ready export options ensure your designs maintain their quality when printed at scale.
Canva gives you the visual tools. SocialAgnt gives you the content strategy and copy to go with them. Generate content calendar plans, platform-specific captions, and marketing copy using AI built for real estate — then bring it to life visually in Canva. Together, the two tools create a marketing production workflow that rivals what agencies charge thousands of dollars per month to deliver.
Getting Started: Your First Week With Canva
If you are new to Canva or have used it sporadically without a system, here is a structured first week that establishes the foundation for efficient, ongoing use.
Day 1: Account Setup. Create your Canva account (start with the free version). Set up your folder structure. Upload your logo, headshot, and brand assets. If you are going Pro, configure your Brand Kit with your colors and fonts.
Day 2: Template Exploration. Browse Canva’s real estate template library. Search for “real estate” along with specific terms like “listing flyer,” “Instagram post real estate,” “open house,” and “market update.” Save templates you like to your folders as starting points for customization.
Day 3: Create Your Core Templates. Build your first five templates: a Just Listed graphic, a testimonial graphic, a market update graphic, an educational post, and an open house promotion. Customize each with your brand colors, fonts, logo, and contact information. Save them in the appropriate folders.
Day 4: Practice the Duplication Workflow. Take your Just Listed template and duplicate it three times. In each duplicate, swap the property photo, update the text, and adjust the layout if needed. Time yourself — by the third duplication, you should be completing each new version in under five minutes.
Day 5: Create Your First Batch. Using your templates, create all the graphics you need for the coming week’s social media content. Export each design in the appropriate format and size. Load them into your scheduling tool alongside the captions you have written. Congratulate yourself — you have just established a visual content production workflow that will serve you every week going forward.
Canva is not magic. It does not replace creative thinking, quality photography, or a solid content strategy. What it does is remove the production barrier that prevents most agents from executing their visual marketing vision. With a library of branded templates, a batch design workflow, and the basic design principles covered in this guide, you have everything you need to produce marketing materials that look professional, reinforce your brand, and give your social media content the visual polish that stops the scroll and earns the click.
Ready to save 5+ hours per week on social media?
SocialAgnt helps real estate agents schedule posts, create AI content, and grow their brand across 7 platforms. Try it free for 14 days.
